

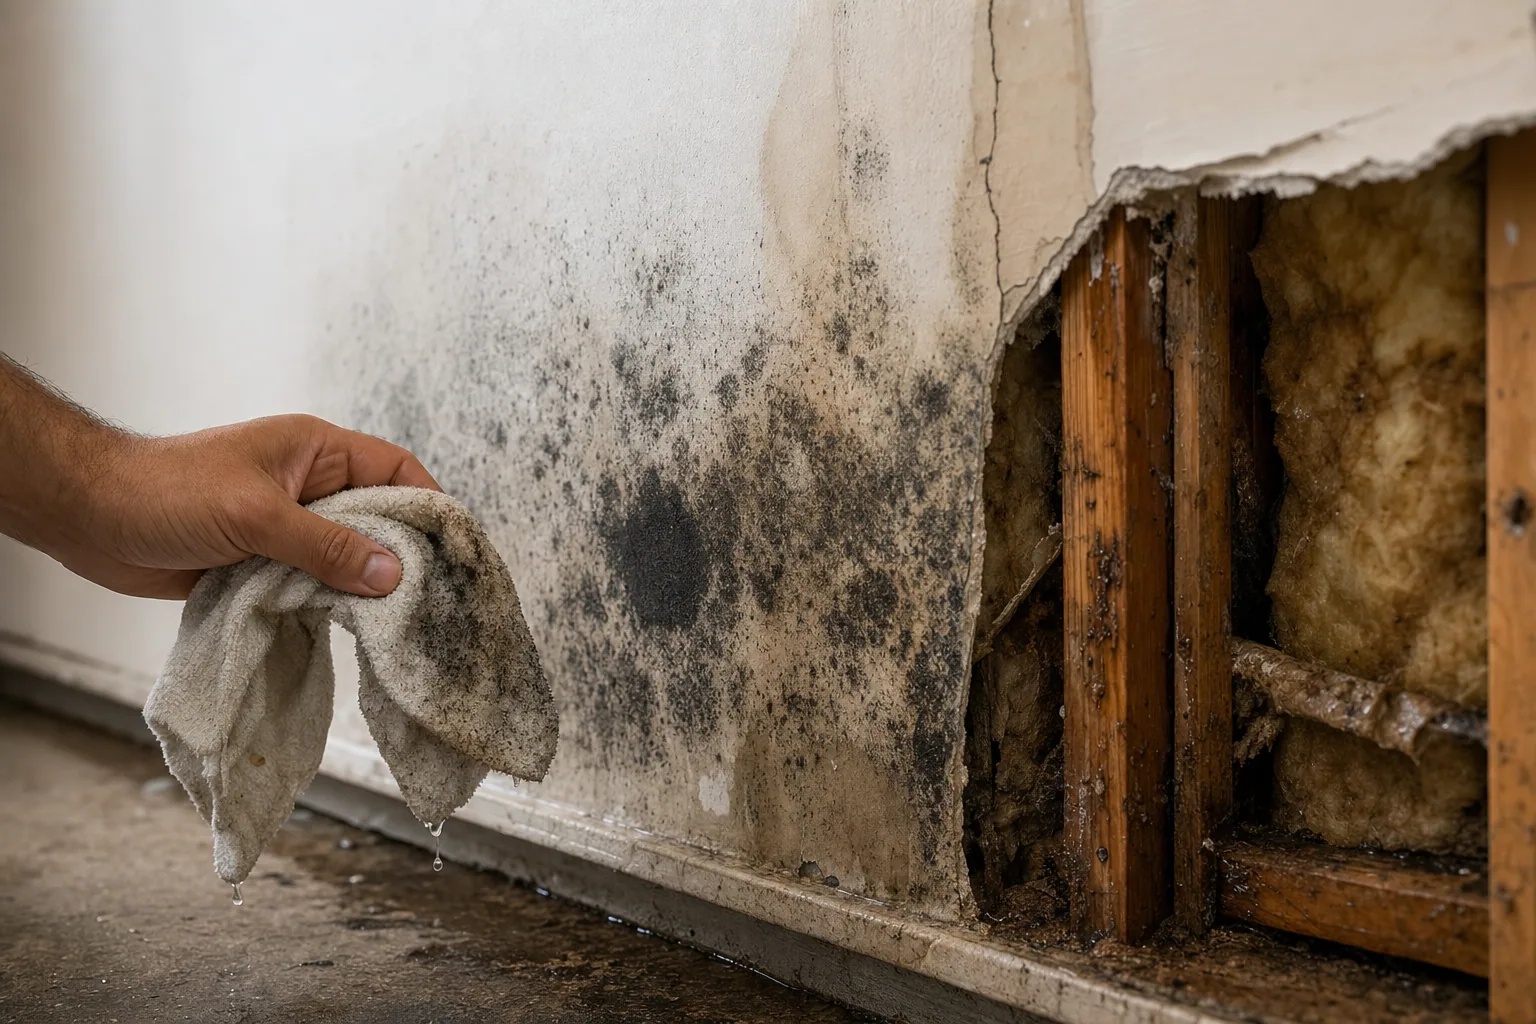
A roof leak might seem like a straightforward repair problem, but it often triggers a much bigger threat lurking inside your home: mold. Once water begins to seep into your attic, walls, or crawl spaces, mold spores thrive in the dark, damp environment. Left unchecked, mold spreads quickly and can cause structural damage, health problems, and expensive remediation costs.
The good news is that mold prevention after a roof leak is entirely manageable if you act fast and follow the right steps. This guide will walk you through identifying water damage, drying out affected areas, and taking preventive measures to keep mold from taking hold in your Tulsa home.
Act Immediately After Discovering a Leak
The first 24 to 48 hours are critical. Mold spores can begin colonizing within 24 hours of water exposure, so speed matters.
Here's what to do right away:
- Stop the water source. If the leak is actively dripping, place a bucket underneath and mark the location for your contractor.
- Document everything. Take photos of water stains, wet insulation, and damaged materials. This helps with insurance claims and gives your contractor a clear picture.
- Call a professional roofer. An experienced team can locate the leak's origin, assess how far water has spread, and begin repairs immediately. Trifecta Roofing and Restoration specializes in emergency roof leak repair and knows the Tulsa climate and common leak patterns that plague local homes.
- Increase ventilation. Open windows and doors to encourage air circulation, even if it's uncomfortable. Use fans to push air out of the affected space.
Dry Out the Affected Area Completely
Moisture is mold's best friend. If any dampness remains after the initial leak stops, mold will find it.
Focus on these drying strategies:
- Use dehumidifiers in the affected rooms. Portable units work well for attics and basements. Aim to get humidity below 50 percent.
- Run exhaust fans continuously if the leak affected bathrooms or kitchens.
- Remove wet insulation. If your attic insulation absorbed water, it must be replaced. Wet insulation loses its R-value and becomes a mold breeding ground.
- Check hidden spaces. Look behind walls, under flooring, and in the crawl space for hidden moisture. Use a moisture meter if you have one.
- Open wall cavities if possible. Your roofer or a restoration specialist may need to create temporary openings to allow interior wall cavities to dry.
Drying takes patience. Depending on the amount of water and your home's ventilation, complete drying can take one to two weeks or longer. Do not rush this step or seal up walls before you are certain everything is dry.
Inspect for Early Mold Growth
While drying is happening, stay vigilant for early signs of mold.
Mold often appears as:
- Black, green, or white fuzzy patches on wood or drywall
- A musty, earthy odor in affected rooms
- Discoloration on ceilings or walls
- Soft or spongy drywall that crumbles when touched
If you spot mold growth in its early stages (small patches less than 10 square feet), you can clean small areas yourself using a solution of one part bleach to ten parts water. Always wear gloves, eye protection, and an N95 mask. Ventilate the space well.
For larger areas or if mold has penetrated deep into wood framing, call a mold remediation specialist. Attempting to remove extensive mold yourself can spread spores throughout your home and worsen the problem.
Replace Damaged Materials
Water-damaged materials weaken structurally and are prone to mold. Replace rather than repair when possible.
Common replacements after roof leaks include:
- Drywall: Water-saturated drywall should be cut out and replaced. The material is inexpensive, and replacement is far cheaper than treating widespread mold later.
- Insulation: Wet fiberglass or cellulose insulation loses effectiveness and harbors mold. Remove and replace with new insulation.
- Wood framing: If water damage is superficial, sanding and drying may be enough. Deep penetration into wood requires replacement to prevent rot and structural failure.
- Roofing materials: Your contractor will replace damaged shingles, underlayment, or plywood decking as part of the roof repair.
Use Mold-Resistant Materials During Repair
When your roof is repaired and interior damage is addressed, use mold-resistant or moisture-resistant materials to reduce future risk.
Consider upgrading to:
- Mold-resistant drywall. This specialized drywall uses a paper facing that resists mold growth and moisture absorption.
- Closed-cell spray foam insulation. It provides superior moisture resistance compared to traditional fiberglass batts.
- Moisture barriers. Ask your contractor about underlayment and vapor barriers that help channel water away from vulnerable interior spaces.
These upgrades cost more upfront but pay dividends by reducing future mold risk and improving your home's energy efficiency.
Maintain Your Roof to Prevent Future Leaks
The best mold prevention strategy is preventing leaks in the first place.
Keep your roof healthy by:
- Scheduling annual inspections before spring storms and after severe weather events
- Cleaning gutters twice yearly to ensure proper drainage
- Trimming tree branches that hang over your roof to prevent debris buildup and damage from falling limbs
- Checking your attic after heavy rain or high winds to catch small leaks early
- Addressing missing or damaged shingles immediately
Trifecta Roofing and Restoration performs comprehensive roof inspections that identify vulnerabilities before they become leaks. This proactive approach saves money and keeps your family safer.
Monitor Humidity Levels Year-Round
Mold thrives when indoor humidity stays above 60 percent. Tulsa's humid climate makes humidity control especially important.
Keep humidity in check by:
- Running your HVAC system's dehumidification mode during warm months
- Using bathroom and kitchen exhaust fans during showers and cooking
- Ensuring crawl spaces and attics have adequate ventilation
- Installing a whole-home dehumidifier if you live in a particularly damp area
A humidity meter costs under twenty dollars and lets you monitor levels in different rooms. Target 30 to 50 percent humidity.
Know When to Call a Professional
While some water damage cleanup can be DIY, mold remediation and structural drying often require professionals.
Call a specialist if:
- The water damage covers a large area
- You spot mold growth
- The leak affected multiple rooms or floors
- You smell mold but cannot locate it visually
- Materials remain damp after several days of drying efforts
Trifecta Roofing and Restoration handles the roof repair side and can recommend trusted restoration specialists for interior water damage. Working with a local contractor who understands Tulsa's weather patterns and common leak sources ensures your home gets the right treatment from the start.
Take Action Today
Roof leaks and mold prevention go hand in hand. The moment you notice a leak, water stain, or musty odor, act fast. Stop the water source, dry the space thoroughly, replace damaged materials, and upgrade to moisture-resistant options when possible. Most importantly, maintain your roof proactively so leaks do not happen in the first place.
If a roof leak is currently damaging your Tulsa home, do not wait. Contact Trifecta Roofing and Restoration today for emergency repairs and expert guidance on preventing mold and water damage. Our team is ready to protect your home and your family.